Getting Started - Servers
This guide provides information on creating custom servers. For client modding, take a look at the client documentation
Steps
- Basic
- Optional / Lua Scripting
Basic
Download the Default Server
You can get a copy of the default server folder with the regular download on our itch.io page
Copy this folder to a place that's easy to find and won't get overwritten by updates.
To update the server, you only need to copy over the latest server executable, unless you want the latest script library files, which you can choose to upgrade.
Launching the Server
On Windows you can double click on the server executable, which will spawn a console window to display server logs.
On other platforms, you'll want to open a terminal in the same folder and run the server through the terminal, otherwise you won't have access to logs and need to stop the server through a task manager.
You can then add and join your server from the client.
Note the port (:7370) isn't necessary to include and is often better to exclude to allow the port to change, especially for linking save data. (The default port was previously 8765, which was inaccessible for some players)

Install Tiled
You can download the Tiled map editor from the official website
Learning from the Default Area
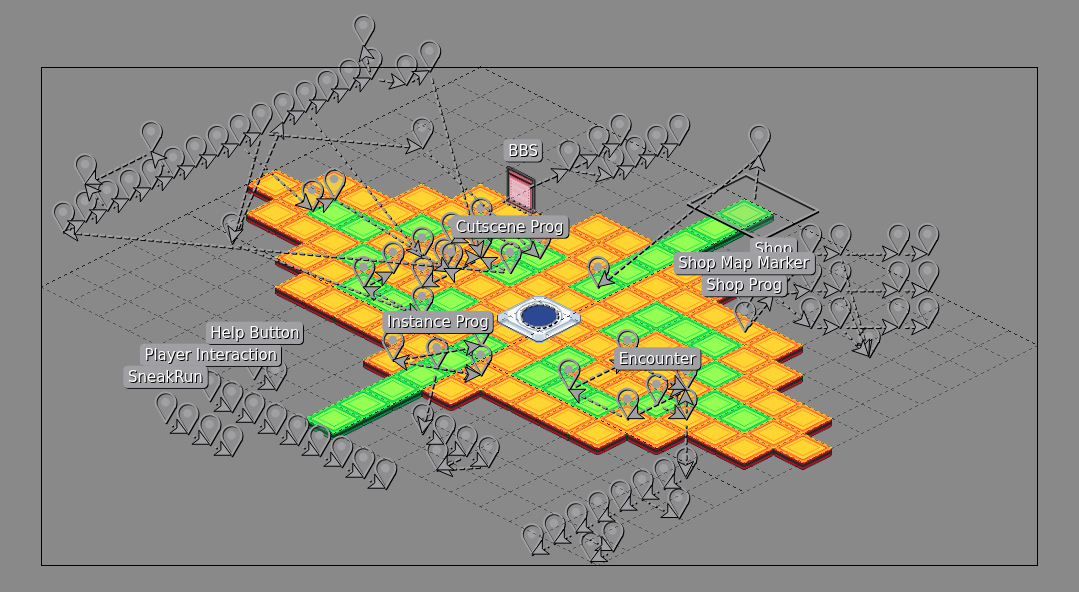
With Tiled installed you can open areas/default.tmx directly or drag and drop it into the editor to view and edit it.
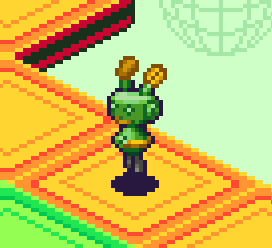
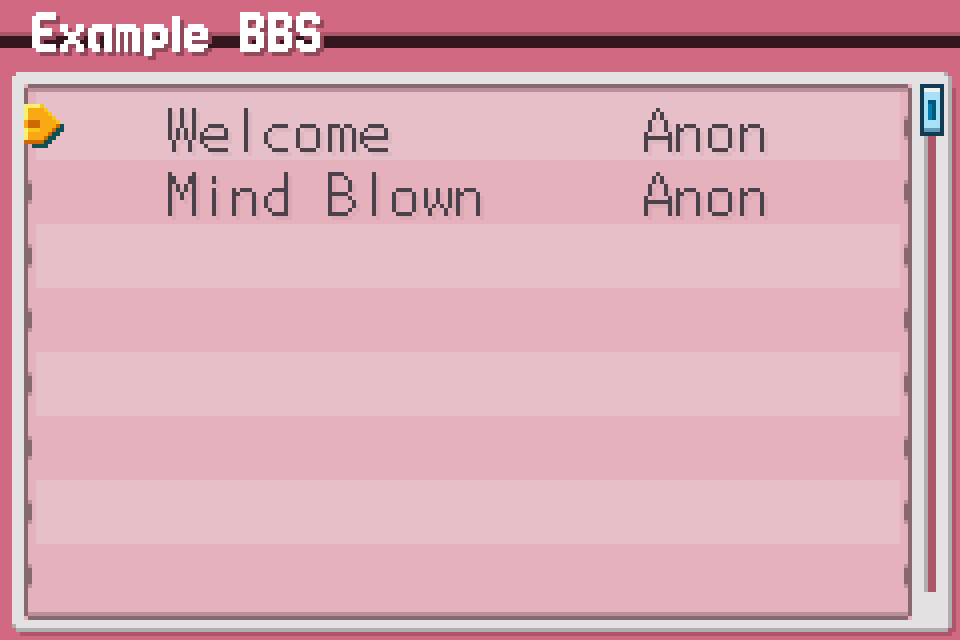
It will initially look like a crazy mess, as it's filled with examples for Script Nodes:
It's best to run around in game and see if there's anything you want to understand, focus on just the parts you want to use in your own server.
You can always to come back to the default map to learn more later if there's something more complicated you want to build.
| In-Game | Tiled |
|---|---|
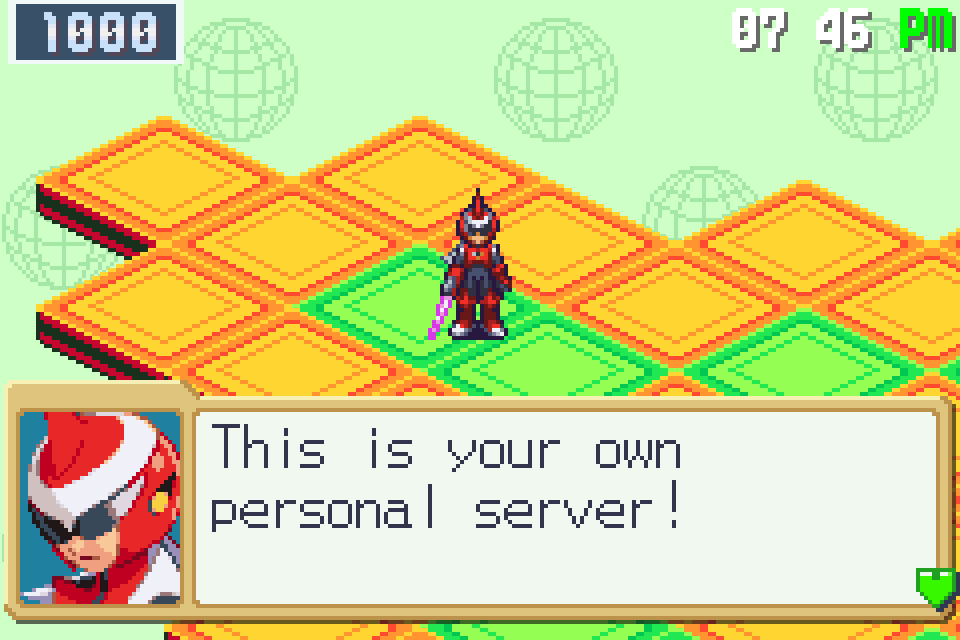 |  |
 |  |
 | 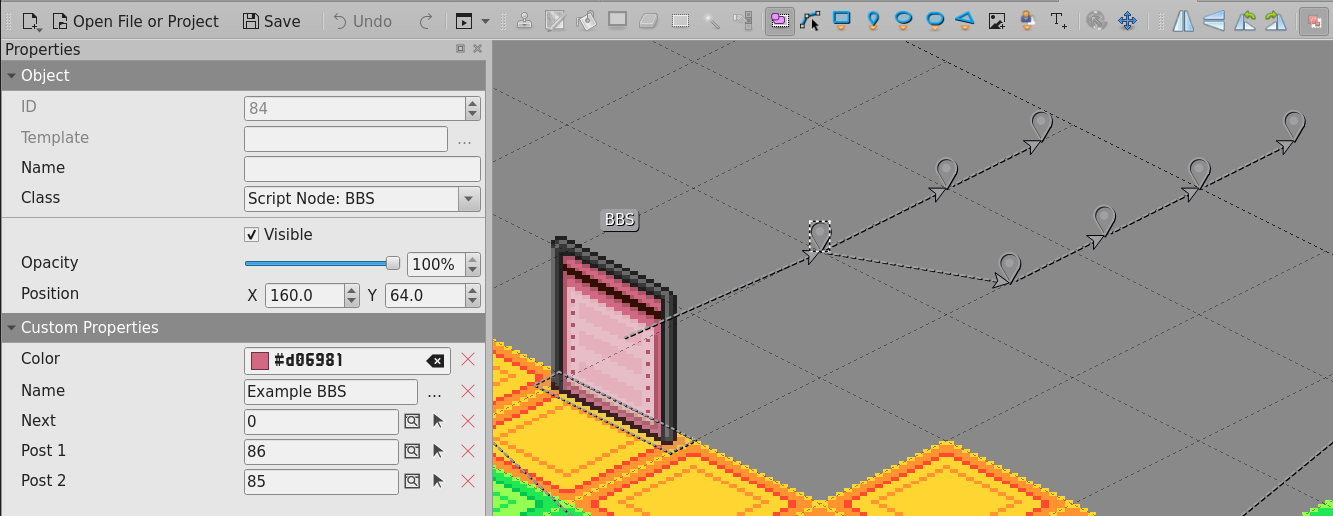 |
Tiles and Map Markers
Servers support more than what's shown in the default server, such as stairs, ice, and conveyors. More samples may come eventually.
Check the Areas, Objects, and Tiles documentation to read more about the different tiles, objects, and layering.
Optional / Lua Scripting
Install Visual Studio Code
Download from the official website
Open the Server Folder in VS Code
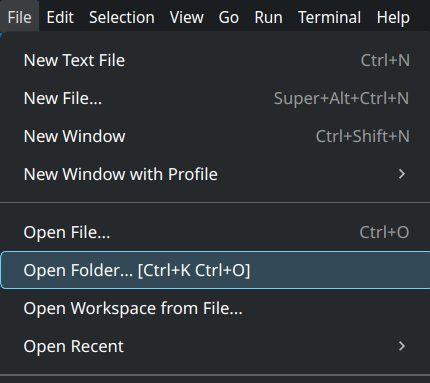
You can open your server folder in VS Code by right clicking on the folder and selecting Open with Code or by using File -> Open Folder within VS Code.
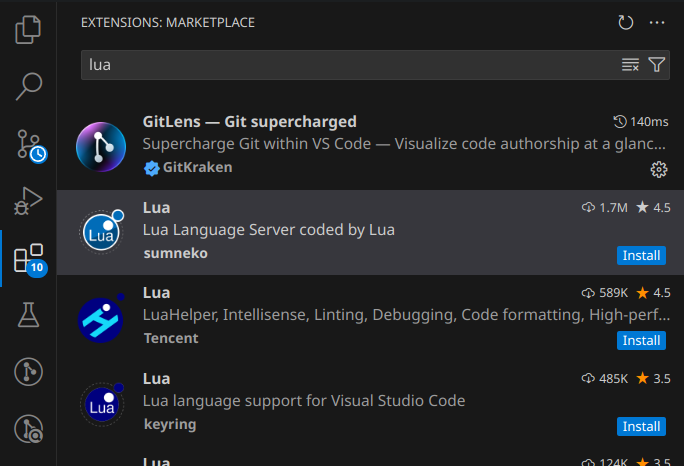
Install Extensions
You'll want at minimum the Lua extension by sumneko, as it will provide syntax highlighting and autocomplete for Lua:
Add Type Definitions File
You can add our sserver type definitions file to your project / server folder: Server Type Definitions
It should look like this inside of VS Code:
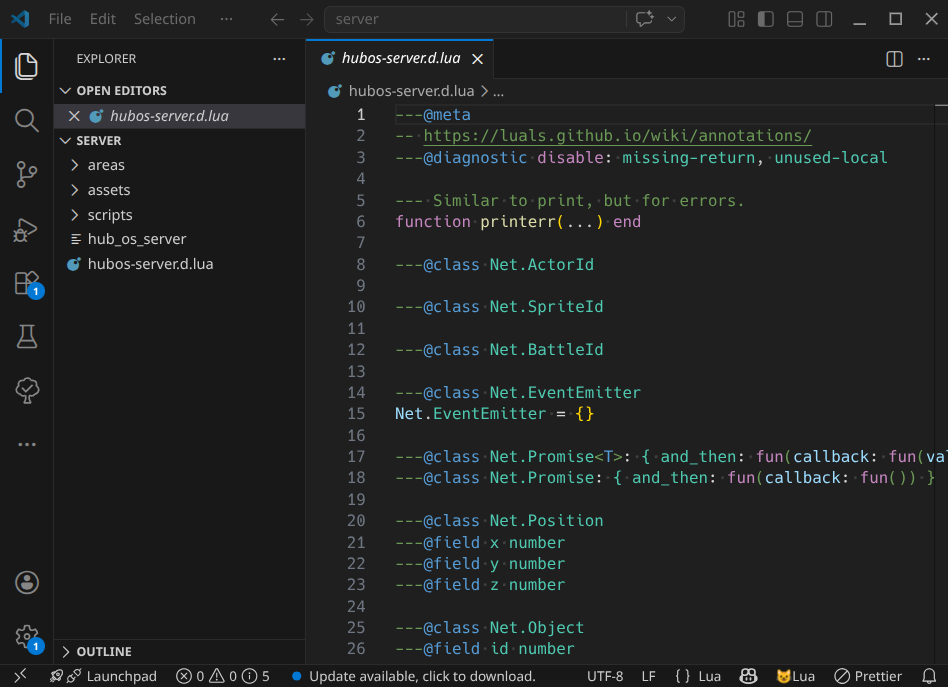
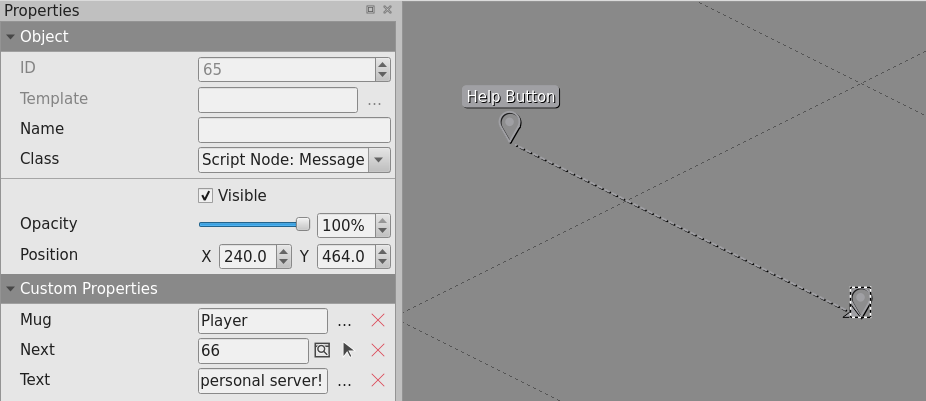
This will give you access to built in documentation and autocomplete:

Scripting Intro
Scripts are read from the scripts folder, any Lua file placed directly in that folder will run when the server launches.
It will also read main.lua files stored in a subfolder, but it won't recursively search folders for this file.
You'll generally want to run some logic in response to a specific event. The Net table stores most of the server's API, and is also an Event Emitter.
You can read about specific server events here: Events
Net:on("player_join", function(event)
  Net.message_player(event.player_id, "Hello World!")
end)
Reacting to a single event generally isn't enough, you want a back and forth for real interactivity:
-- note this is an intentionally bad example

Net:on("player_join", function(event)
  Net.question_player(event.player_id, "Is your day going well?")
end)

Net:on("textbox_response", function(event)
  if event.response == 1 then
    Net.message_player(event.player_id, "That's great!!")
  else
    Net.message_player(event.player_id, "I hope it gets better! :)")
  end
end)
You might see problems immediately or at least quickly after trying to build something more complicated off of this: How do we respond to different questions, as this will execute for any question made in this file?
In the past a variable was often used to keep track of the last interaction for each player, but this quickly became hard to follow. As abstractions were created and inspired by features from other languages, they became part of the server API. This is the Async API.
Async versions of the Net API return a promise - a table that has an and_then property which can be given a single callback:
Net:on("player_join", function(event)
  -- Note: Async instead of Net
  Async.question_player(event.player_id, "Is your day going well?")
    .and_then(function(response)
      -- the response is for this specific question and no other
      if response == 1 then
        Net.message_player(event.player_id, "That's great!!")
      else
        Net.message_player(event.player_id, "I hope it gets better! :)")
      end

      Async.question_player(event.player_id, "Ready for more questions? :^)")
        .and_then(function(response)
          -- ...
        end)
    end)
end)
Of course, this solution still isn't perfect, it leads to "callback hell", where your code moves further right with more nesting as you respond to more events.
That's why Async.await() exists:
Net:on("player_join", function(event)
  -- Creates a special function that can pause:
  Async.create_scope(function()
    local response = Async.await(Async.question_player(event.player_id, "Is your day going well?"))
    -- this function will resume when Async.await completes, other lua can run in the meantime

    if response == 1 then
      Net.message_player(event.player_id, "That's great!!")
    else
      Net.message_player(event.player_id, "I hope it gets better! :)")
    end

    response = Async.await(Async.question_player(event.player_id, "Ready for more questions? :^)"))

    -- ...
  end)
end)

Net:on("tick", function()
  -- just proving that more lua can run while we're waiting,
  -- only the code running within Async.create_scope() or called by code in that function are paused
  print("tick")
end)
Our code stays flat, at the cost of one indentation for Async.create_scope().
A useful detail to know, Async.create_scope() also returns a promise! The return value of the function passed in is used as the "resolved" value.
function prompt_addition_problem(player_id)
  return Async.create_scope(function()
    local a = math.random(1,9)
    local b = math.random(1,9)
    Net.message_player(player_id, "What's " .. a .. " + " .. b)

    local response = Async.await(Async.prompt_player(player_id))

    -- note if the player disconnects, `response` will be nil, "0" is used as a default by using a feature of `or`
    -- this only works with non boolean values in Lua
    local number = tonumber(response or "0")

    return a + b == number
  end)
end

Net:on("player_join", function(event)
  local player_id = event.player_id

  Async.create_scope(function()
    -- loop until the player solves an addition problem
    while true do
      if Async.await(prompt_addition_problem(player_id)) then
        Net.message_player(player_id, "Awesome! :)")
        break
      end

      if not Async.await(Async.question_player(player_id, "Oof try again?")) then
        -- player wants to stop
        break
      end
    end
  end)
end)
There's a bit more Async can do, and certain API features are only accessible through Async. The most notable feature is async iterators, but that will be left for the Async docs.
Hosting
To host from your own computer, you'll want to look into port forwarding 7370 for your specific router, you can host from a cheap low power computer such as a Raspberry PI to reduce electricity costs.
You can also look into a paid VPS, however that's a significantly more advanced hosting option.
Port Forwarding Alternatives
- PLAYIT.GG
- Routes up to 4 TCP / UDP ports through a sharable URL.
- Running the playit program should guide you through creating an account and setting up an "Agent"
- To forward Hub OS, you'll need to create a new tunnel.
- Tunnel Type:
UDP - Description:
Hub OS server https://hubos.dev - Origin Port:
7370
- Tunnel Type: